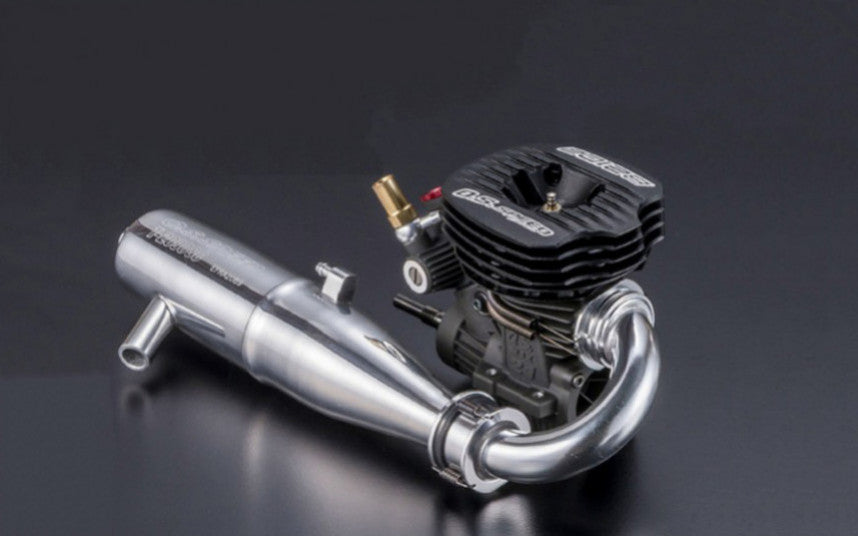
Why tune your motor Nitro ?
Choosing a radicontrolled car powered by a motor Nitro For RC enthusiasts, this means taking model building a step further, by moving towards even more realistic and tunable scale models. So, running a car Nitro brings incomparable excitement to RC pilots, thanks to a highly realistic driving sensation.
Unfortunately, for beginners to model building, this pleasure can be somewhat spoiled by the apparent complexity of the technical settings. In this guide, we'll take you through the process of getting your car up and running Nitro i.e. carburetor tuning and engine running-in.
Why adjust your carburetor?
Visit carburetor screw adjustmentr allows you to control fuel flow according to engine speed. This is an essential step car incorrect carburetor adjustment not only affects your car's performance, but also engine longevity.
The first screw, generally located at the top and also known as the richness screwis responsible for engine operation at high revs. The second, called the intake screwis located in the axis of travel of the spool and determines vehicle acceleration. The third, called the idle screw is located at the bottom of the gearbox and conditions engine operation at low rpm. Finally, the counter-rotating screw acts on low revs only, and must never be tampered with. car it is very difficult to adjust, especially for beginners.


A few tips before adjusting the carburettor
- Never handle the engine when it's cold: you need to do a few laps around the track before adjusting the screws, to warm up the engine.
- Never carry out several adjustments at once: identify problems by driving the vehicle, adjust the screw and then test again.
- Always respect the order in which the screws are set: first the richness screw, then the pick-up screw and finally the idle screw.
- Check that the plug has returned to the closed position when you're not using the gas pedal.
- Use a thermometer to monitor motor temperature and prevent overheating (120°C maximum).
Adjusting the richness screw
How to test the richness screw setting?
Start the engine, then disengage it by accelerating 2 or 3 times. Then run your engine at full throttle, on a straight stretch for example, and observe its reactions. The aim is to obtain a top speed without damaging the engine..
Symptoms of lean tuning
- Motor overheating
- Motor stalls
Turn richness screw anticlockwise
Symptoms of over-rich setting
- Engine produces a lot of smoke
- Vehicle does not go very fast
Turn richness screw clockwise
Our tips for adjusting the richness screw
The main needle adjustment is very sensitive, so use small adjustments. Caution: if the setting is too low, the motor may overheat abnormally and deteriorate very quickly, or even break. A setting that's too rich won't damage the motor, but it can foul it and the spark plug. It's better to have a setting that's a little too rich than a little too lean.
Adjusting the return screw
How do I test the auger setting?
Run your engine at idle and steady speed, then accelerate suddenly. Observe the reactions. The aim is to adjust the engine's pick-up.
Symptoms of lean tuning
- Engine stops during acceleration
- Engine overheats
- Engine is slow to respond
- Engine takes a long time to rev down
Turn the pick-up screw anticlockwise
Symptoms of over-rich tuning
- Engine smokes too much
- Engine revs slowly
Turn clockwise the restart screw
Idle screw adjustment
How to test the idle screw adjustment?
This is the last adjustment to be made, after the richness screw and the intake screw. The aim is to prevent your engine from stalling at the lowest possible rpm. For adjust the idle screwsimply listen to your engine when your vehicle is stationary. Optimum adjustment is achieved when the engine doesn't stall and the rhythm is correct.
Symptoms of lean tuning
- Engine stalls when not accelerating
Turn idle screw clockwise
Symptoms of too rich a setting
- engine revs by itself
- vehicle moves forward on its own
Turn idle screw counterclockwise
How to break-in your engine Nitro ?
The engine break-in Nitro is an essential step in extending engine life and performance. Before running the engine in, use a rich carburetor setting to oil the mechanisms (see carburetor settings).
Step 1: On-stand running-in
Visit first run-in stage is to install the car on a support to allow the wheels to turn freely (ideally a starter bench), then start the engine for the first time. Once the engine has started, disengage it by giving 2 or 3 short bursts of acceleration in succession, then let it idle for a full tank of fuel, giving a short burst of throttle from time to time. Switch off the engine when the tank is almost empty and let it cool down. Throughout this stage check engine temperature which should ideally not exceed 95°C.
Step 2: Running-in
Visit second running-in stage is carried out on a On-road tarmac, always on a rich setting (with smoke clearly visible) and gradually increasing the pace over 2 to 3 tanks of fuel. cAs in the previous stage, check the engine temperature, which must not exceed 95°C. Don't forget to let the engine cool down between fill-ups.


